

Enuhal
Habitué
- Messages
- 199
Aldare, Priestess of Wael - Second Update: Finishing up Chapter 2
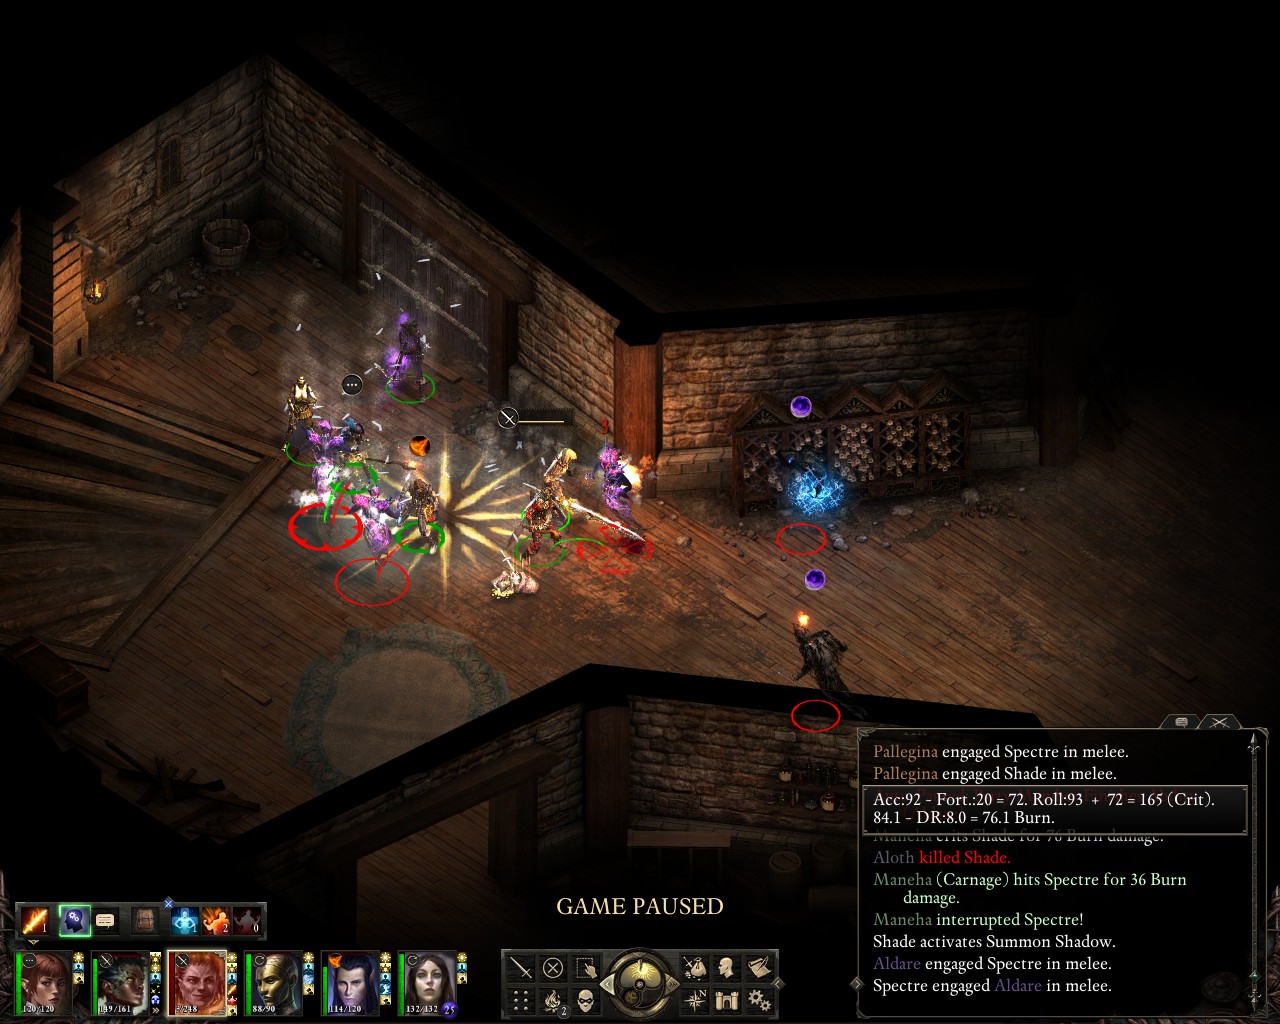
Back to Defiance Bay - we deal with the remaining quests in Ondra's Gift. Shades in the lighthouse are now much easier to deal with, as we have access to huge amounts of fire damage with Maneha and the summoned firebrand sword:
 After quickly finishing The Man Who Waits, by far the easiest of the three Hardret House quests, we help Kurren out with Ludmilla - avery nice Silent Scream by Grieving Mother here:
 The Forgotten are next on our list, and we make sure to buff with Prayer against Bewilderment as their wizard is known to cast Confusion. Things work out very well:
 Now, on to Heritage Hill. Maneha is getting incredibly strong very quickly - this is partly because the Belt of the Royal Deadfire Cannoneer upgrades incredibly fast (unlike most other soulbound items), partly because she just has good stats for a Blood Thirst build (high might, decent int), partly because she is getting her accuracy, otherwise her weakest point, boosted by a ton thanks to Aldare's priest buffs. Her damage output against everything that isn't immune to fire damage already dwarves everyone elses (since most of the game is spent fighting groups, not single enemies. She just cuts through these vessels like they are butter, even the charmed crucible knights in full plate armor take tons of damage from her:
 However, Aloth, Grieving Mother and the DoC still have their place due to their debuffs and their range advantage, which allows them to quickly take down specific enemies in the enemy backline - dangerous spellcasters for example:
 After all, barbarians only get their Leap at level 13 in Pillars 1, and we likely won't even reach that level in this run. Maybe picking up Wild Sprint instead could be worth it for more mobility, but I am not entirely in love with the fact that it's per rest, and there are so many good passives to get as well...
Being done with Defiance Bay now, we move to the wilderness areas, clearing out the Wooded Plains and travelling to Stormwall Gorge. Here, we get into the first really troublesome encounter of the run. We encounter a group lead by an adragan, with pwgras, menpwgras and (elder) lions - my memory propably failed me and I just didn't remember such a dangerous enemy group existing out there in the wilderness. Mind you, there is no good reason to even take this battle, as there are basically no rewards, neither in experience nor in items. However, we kind of run into it, and, of course, the adragan immediately dominates Pallegina. As a result, the unprepared Maneha is suddenly surrounded and flanked my a huge mass of foes and gets knocked out very quickly, while Grieving Mother at least manages to catch the Adraga with Mental Binding, though we aren't able to put in the damage for a quick takedown:
 We get control of Pallegina again, and she uses reviving exhortatoin to bring back Maneha - however, the beasts have swarmed and killed Aloth in the meantime, within seconds - and that's with him having Hardened Veil active. We realize at this point that we're in deep trouble and call in the figurines:
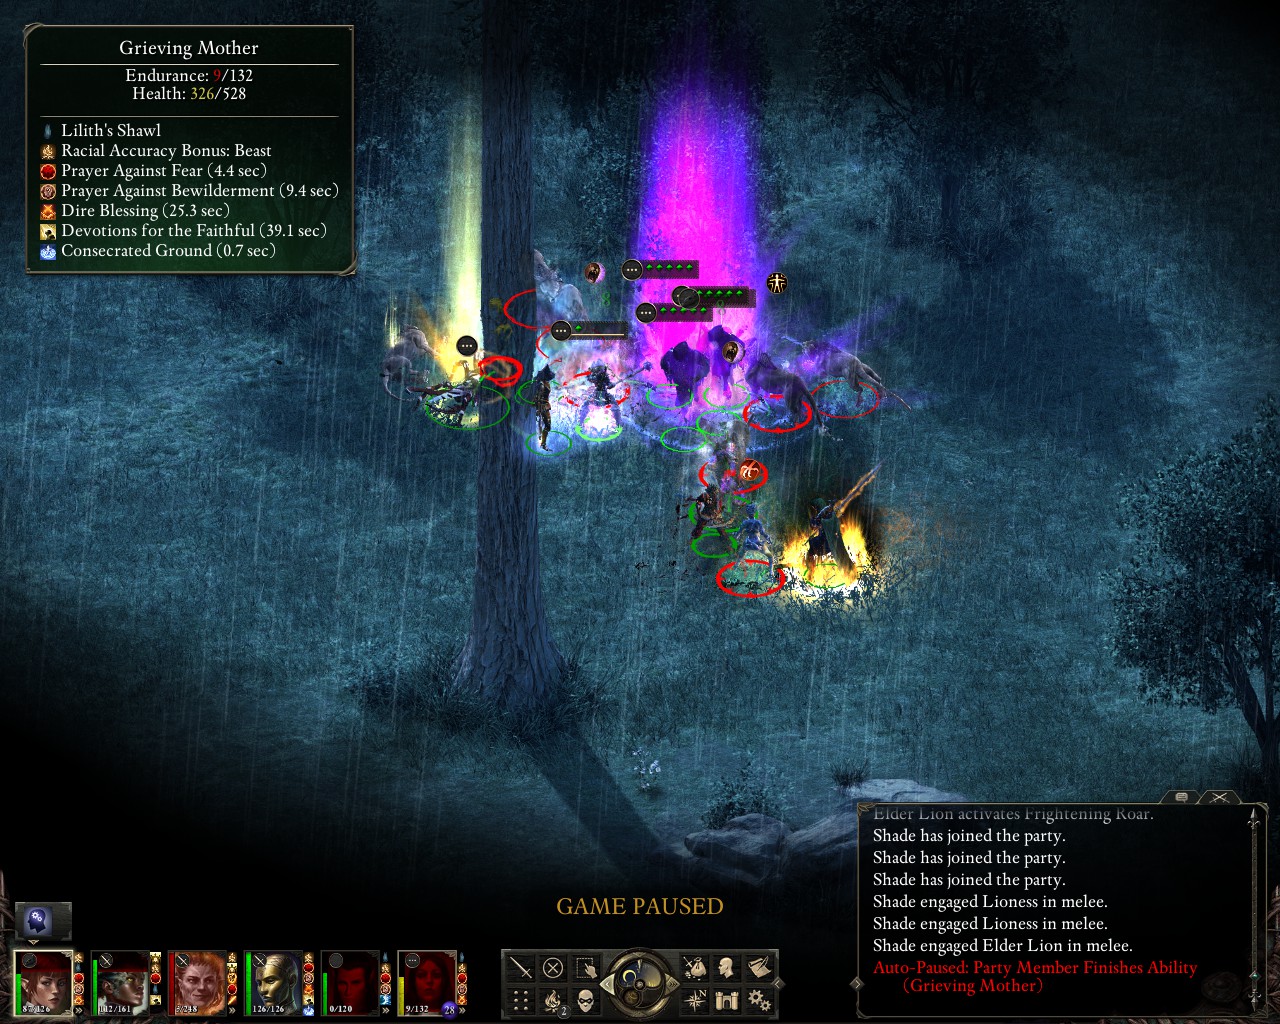 Grieving Mother is almost knocked out as well, but a mental binding on the lion attacking her (busy with its roar ability, which Aldare has already prayed against) allows her to run out of engagement to the south. Meanwhile, we're just not finding a way to take down this Adragan (who has buffed up with Moonwell), as Maneha gets swarmed and knocked out for a second time. We take out the big guns, basically our final way to take over a battlefield with our figurines already in use: DoC's menpwgra form thanks to the Witch's Hat. Insect Plague and the like, lots of dots on everything in the area. Throwing all our abilities at it, finally Aldare gets the kill on the Adragan with an iconic projection of all things.
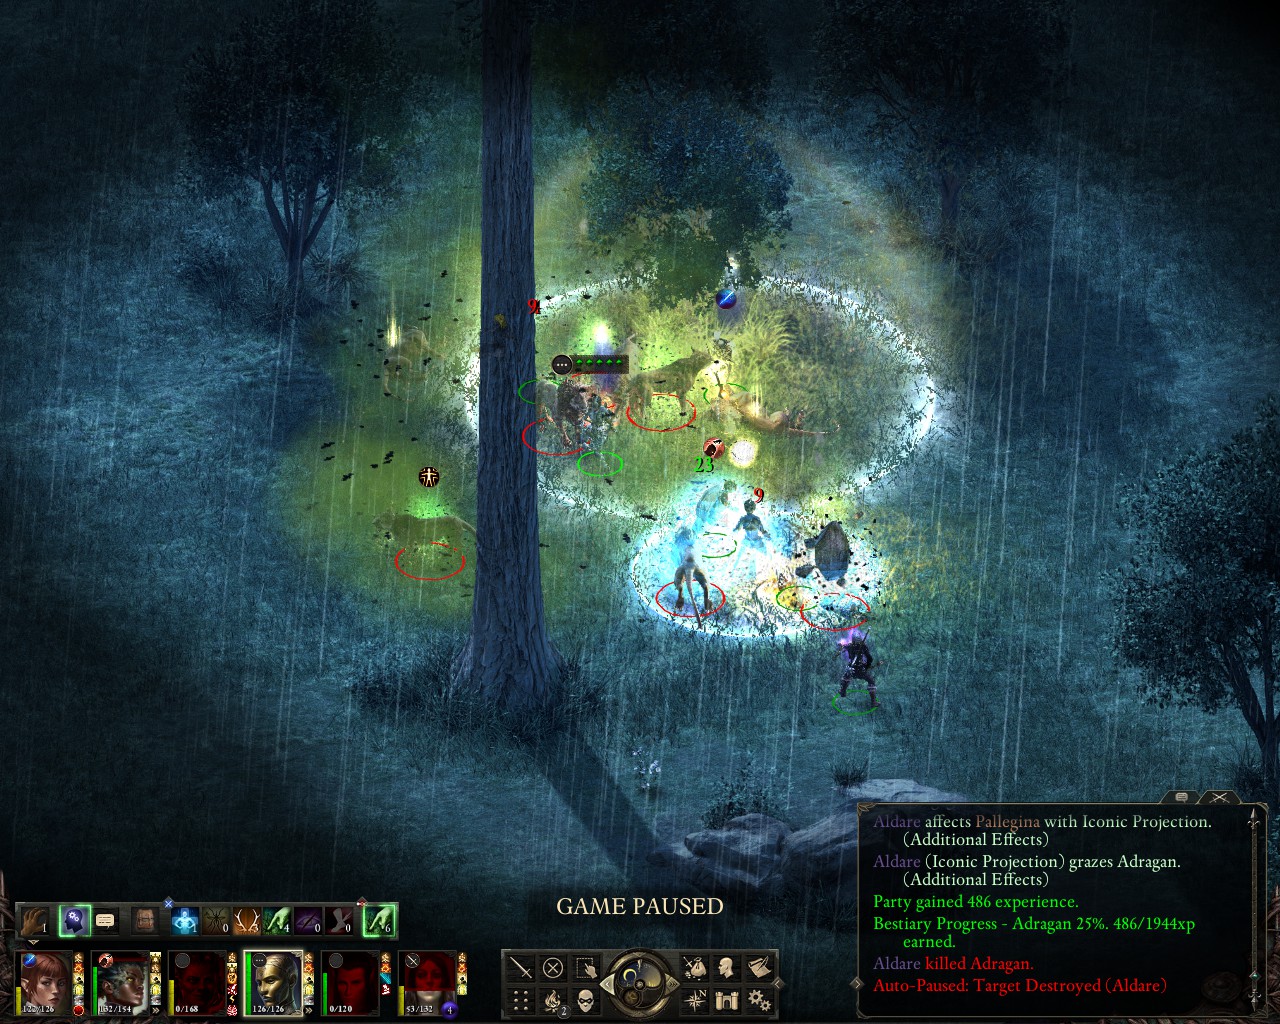 In low numbers, low level cipher abilities really shine: Grieving Mother is able to charm one of the remaining lions and keep another one in check with mental binding. With two party members down and the others basically out of abilities, this gets the job done, though it is a close and painful battle:
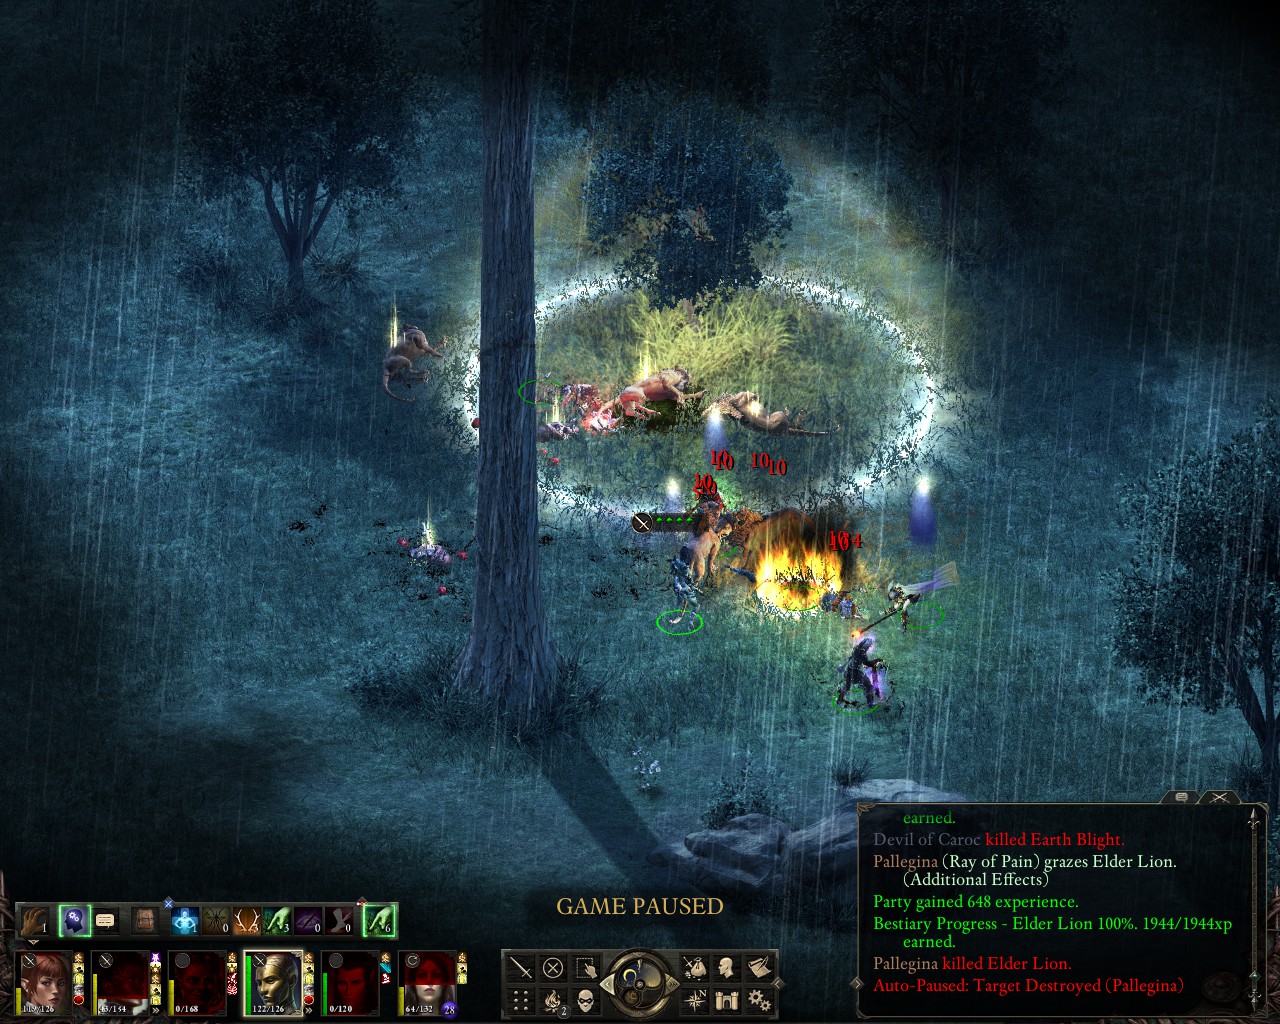
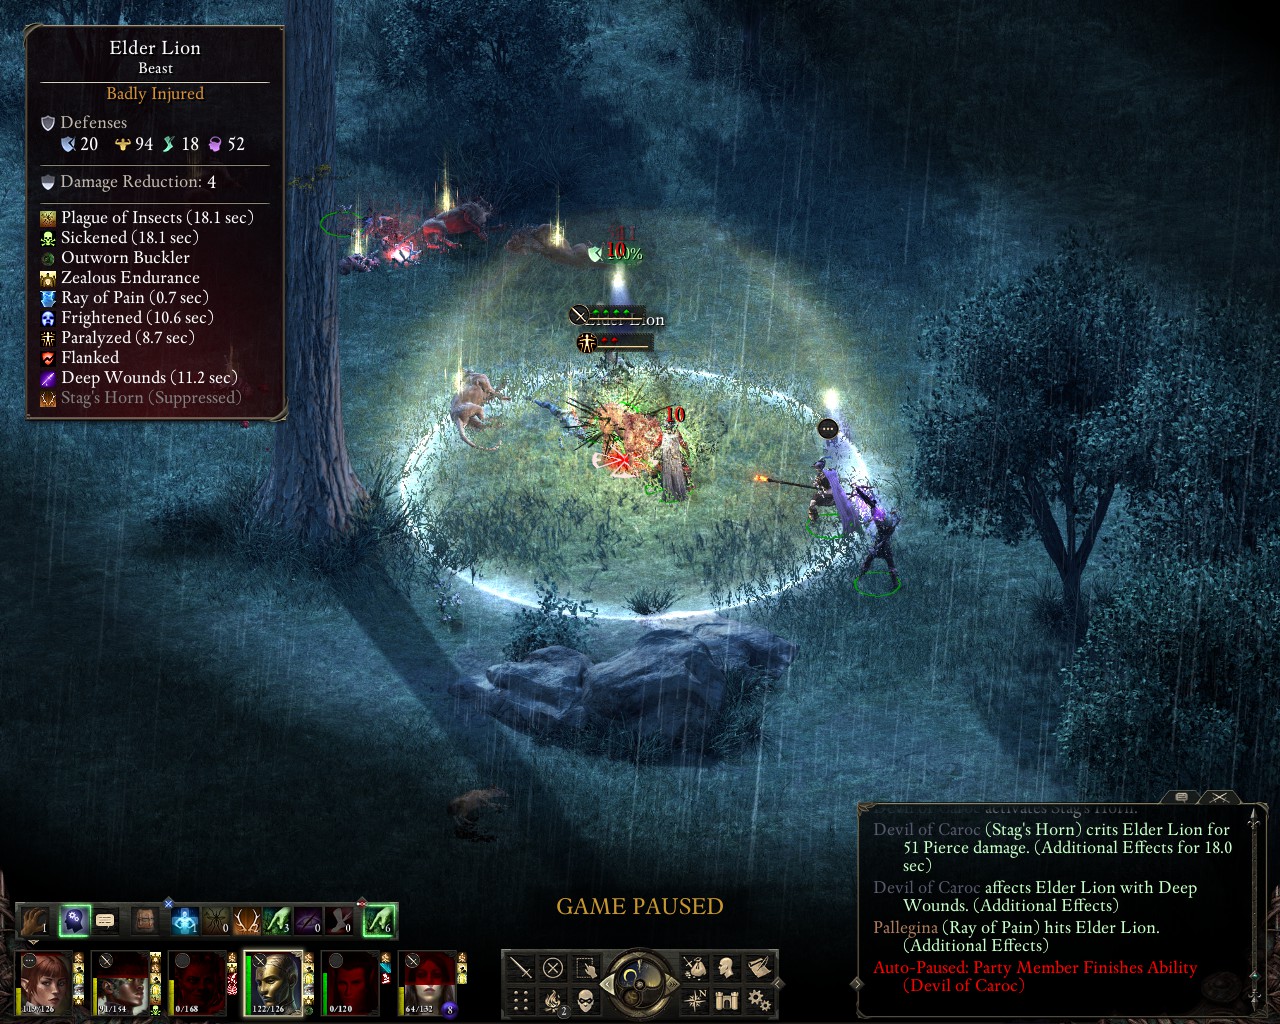 That was tough. We really should've avoided this battle entirely. Without the Witch's Hat we might not even made it through it.
Well, we make it to Dyrford, though most of the sidequests will have to wait, as we are at level 9 and go straight for Through Death's Gate. We manage to pull most of the druids and pwgras into good positions for us, there's only one group where we have no choice but to go for a direct engagement, for which we use scrolls of defense and protection:
 Historically, the spore battle at the end of level 1 has often been a problem for me. Not this time - after pulling back the sporelings, we use the fact that the DoC has full charm immunity (which is usually not accessible at this point - confusion immunity for the dank spores is there, but the swamp spores have actual charm abilities which we could improve resistance against or supress for a time, but full immunity isn't an option) and that these spores aren't the smartest at targeting. Basically, everyone equips ranged weapons (the traps in this room are partially directly in front of the spores), the DoC leads the charge, gets rid of some traps and we start carefully and methodically shooting down the spores one by one while they try to somehow affect our metallic friend, who only takes very light damage:
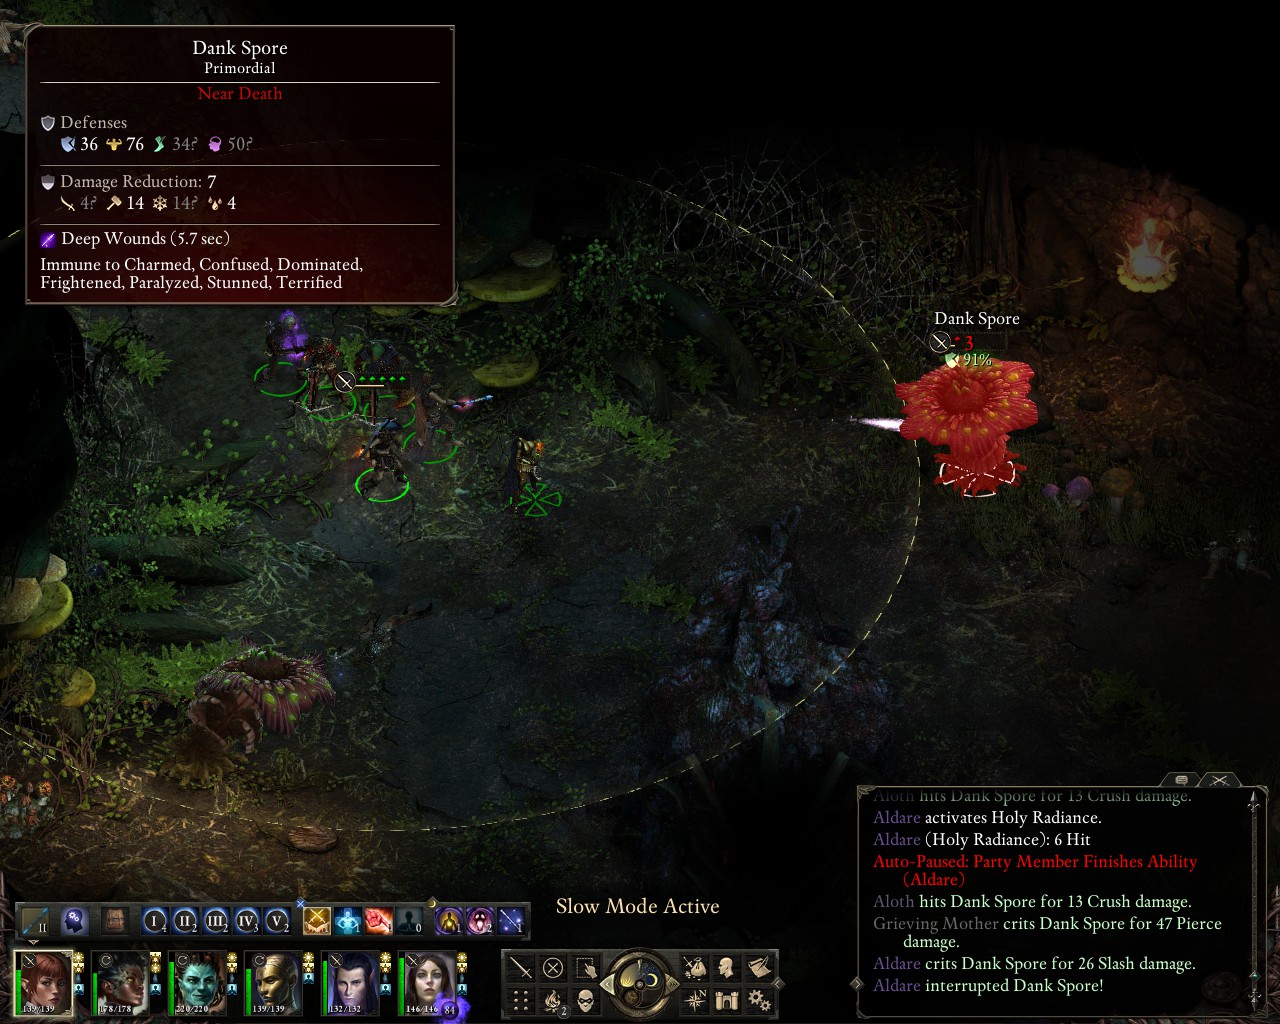

Now, that is definitely a good use for this companion!
Well, the second level is easy as per usual, we go through the Animancy Hearings, and next time, we will venture into Chapter 3!
Back to Defiance Bay - we deal with the remaining quests in Ondra's Gift. Shades in the lighthouse are now much easier to deal with, as we have access to huge amounts of fire damage with Maneha and the summoned firebrand sword:
Being done with Defiance Bay now, we move to the wilderness areas, clearing out the Wooded Plains and travelling to Stormwall Gorge. Here, we get into the first really troublesome encounter of the run. We encounter a group lead by an adragan, with pwgras, menpwgras and (elder) lions - my memory propably failed me and I just didn't remember such a dangerous enemy group existing out there in the wilderness. Mind you, there is no good reason to even take this battle, as there are basically no rewards, neither in experience nor in items. However, we kind of run into it, and, of course, the adragan immediately dominates Pallegina. As a result, the unprepared Maneha is suddenly surrounded and flanked my a huge mass of foes and gets knocked out very quickly, while Grieving Mother at least manages to catch the Adraga with Mental Binding, though we aren't able to put in the damage for a quick takedown:
Well, we make it to Dyrford, though most of the sidequests will have to wait, as we are at level 9 and go straight for Through Death's Gate. We manage to pull most of the druids and pwgras into good positions for us, there's only one group where we have no choice but to go for a direct engagement, for which we use scrolls of defense and protection:
Now, that is definitely a good use for this companion!
Well, the second level is easy as per usual, we go through the Animancy Hearings, and next time, we will venture into Chapter 3!
